|
Какой рейтинг вас больше интересует?
|
Главная /
Каталог блоговCтраница блогера PSDTUTS/Записи в блоге |
|
PSDTUTS
Голосов: 2 Адрес блога: http://psdtuts.com Добавлен: 2008-10-26 20:48:58 блограйдером DrakAngel |
|
The Incredible Digital Paintings of Serge Birault
2011-08-12 17:00:58 (читать в оригинале)Today, we are featuring the work of Serge Birault. Birault is a French digital painter with a stunning portfolio. Most of Birault’s work features the same theme; sexy, naughty, wicked, and often armed women. Please take a moment to review some of Birault’s amazing work and enjoy!
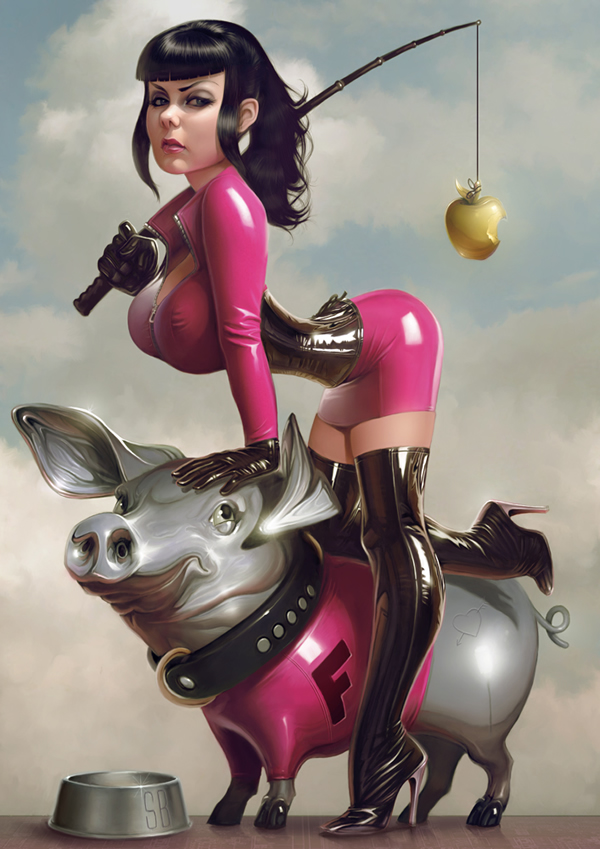
Fuchsia
This piece was a gift for Maria Gibson and features a model riding a reflective pig while holding a whip with an apple attached to it.
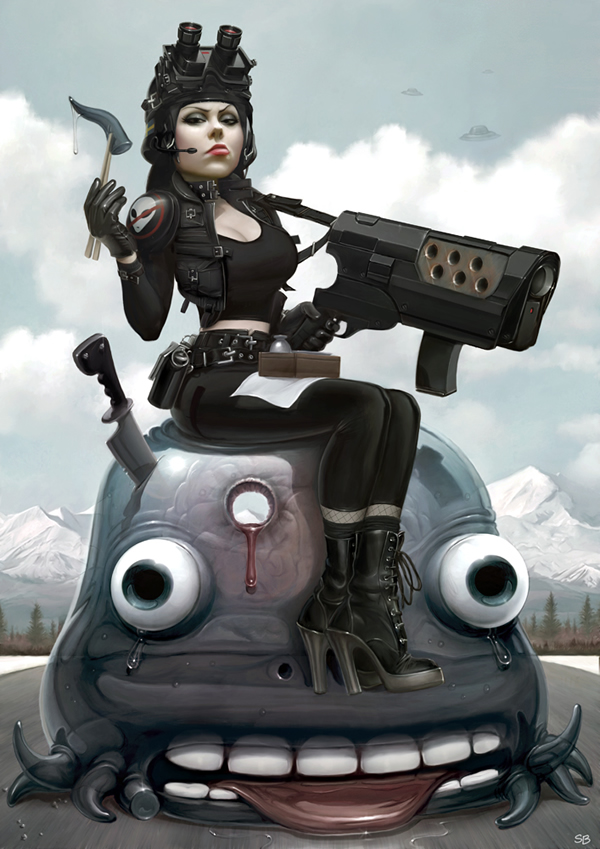
Alien Tako Sashimi
Maria Gibson makes another appearance in Birault’s work but this time she’s dressed as a "Space Chick," sitting on a shiny squid.
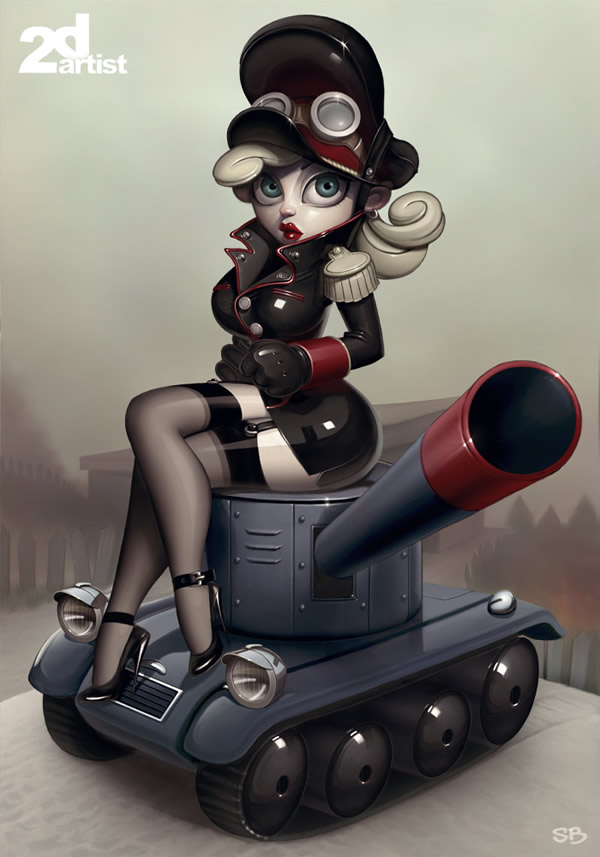
Military Bambi
This piece features Bambi, a characher that Birault did for 2D Artist Magazine. In this piece Bambi is sitting on a tank, dressed as a sexy tank commander.
Poker Pin Up 1
This piece was done for a poker website. Lots of details were added to the money.

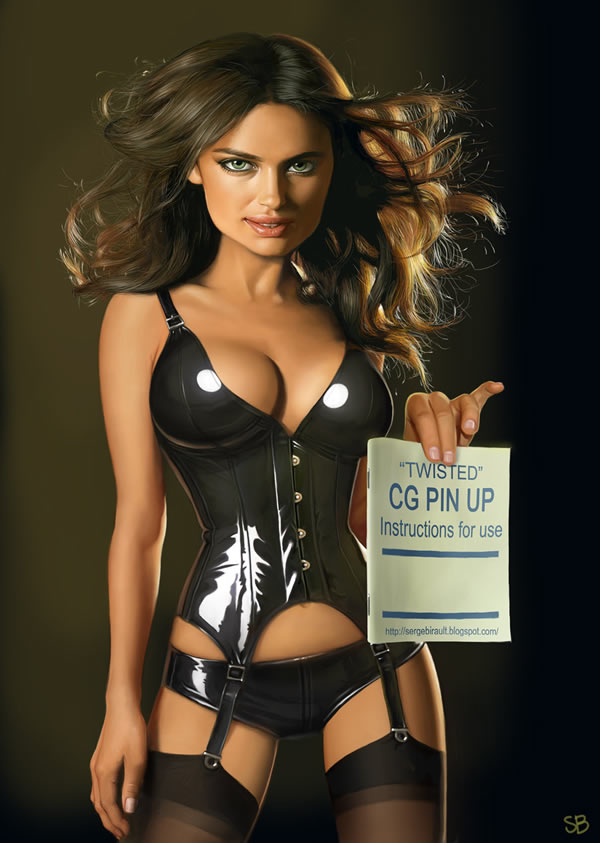
RTFM
This image was created from a refrence photo of Irina Sheik. You can see a tutorial of the steps here.
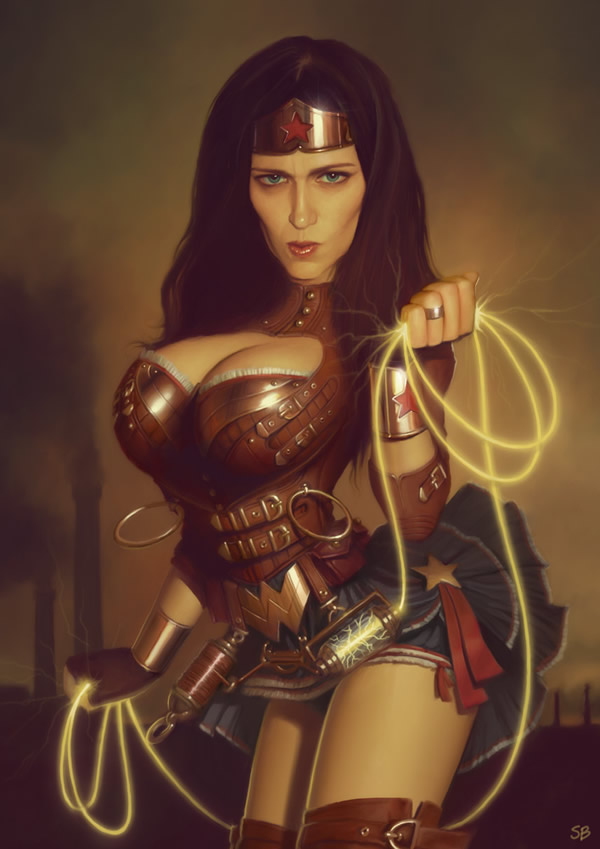
Steampunk Wonder Woman
This image is a Steampunk version of Birault’s favorite super hero.
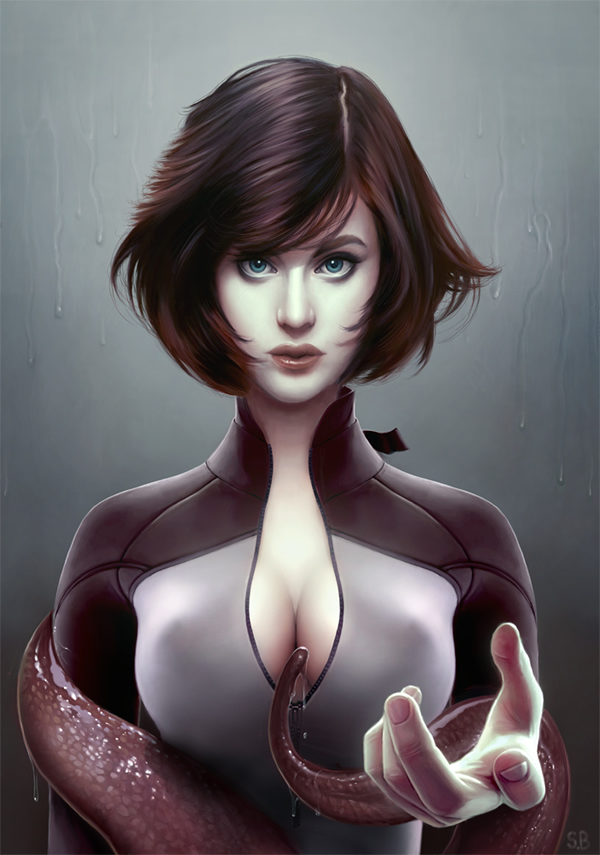
Subabysse II
This painting was done for a cover for Subabysse II, an RPG game.
Vamp Nadine
This image is a caricature of Vamp Nadine, a model from the Netherlands.

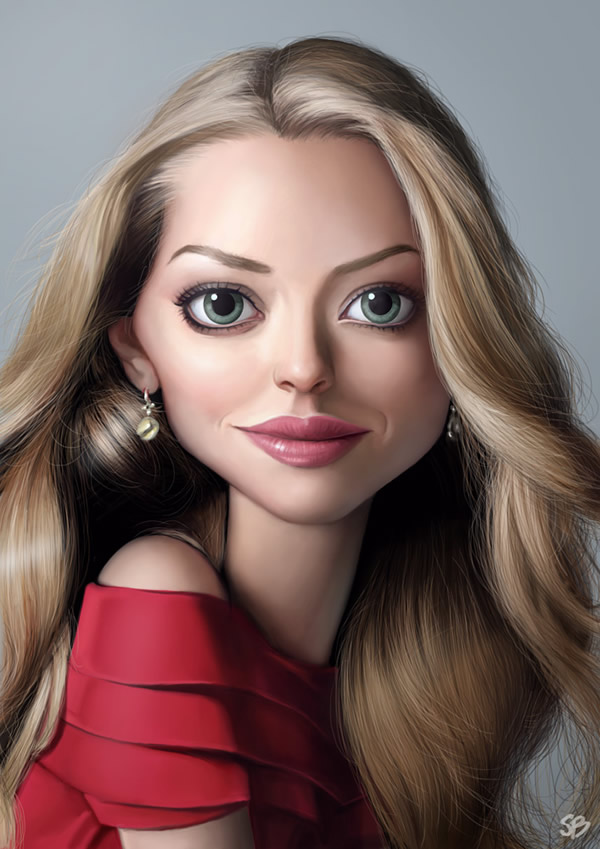
Amanda Seyfried Caricature
This image was Birault’s contribution to the Caricaturama Showdown 3000.
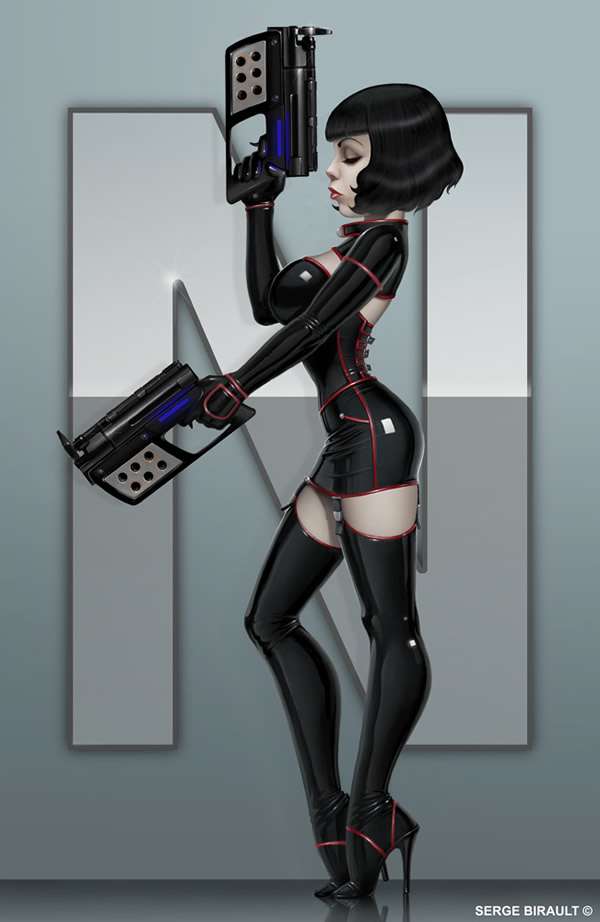
Comic Book Character Design
This piece was a concept for a comic book character that Birault worked on.
Daisy
This piece was an RPG character concept inspired by Norman Rockwell’s style and tones.
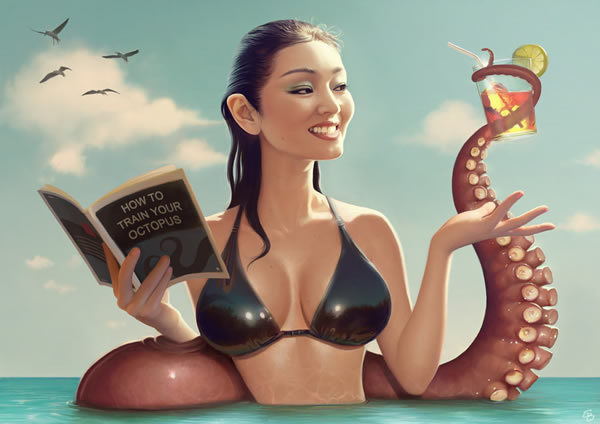
Gong Li and Tentacle
This is a caricature of the beautiful Gong Li.
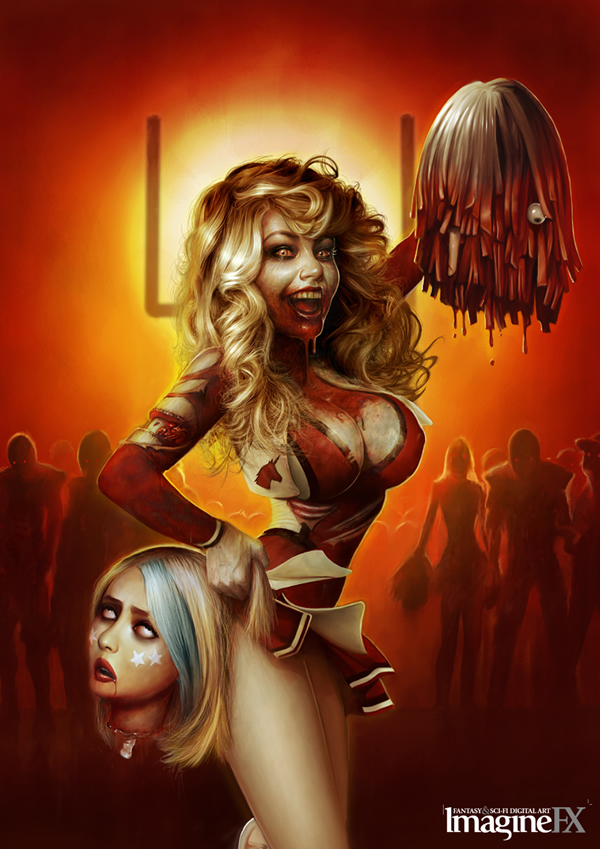
ImagineFX Cover
This image was the cover of the zombie issue of Imagine FX Magazine.
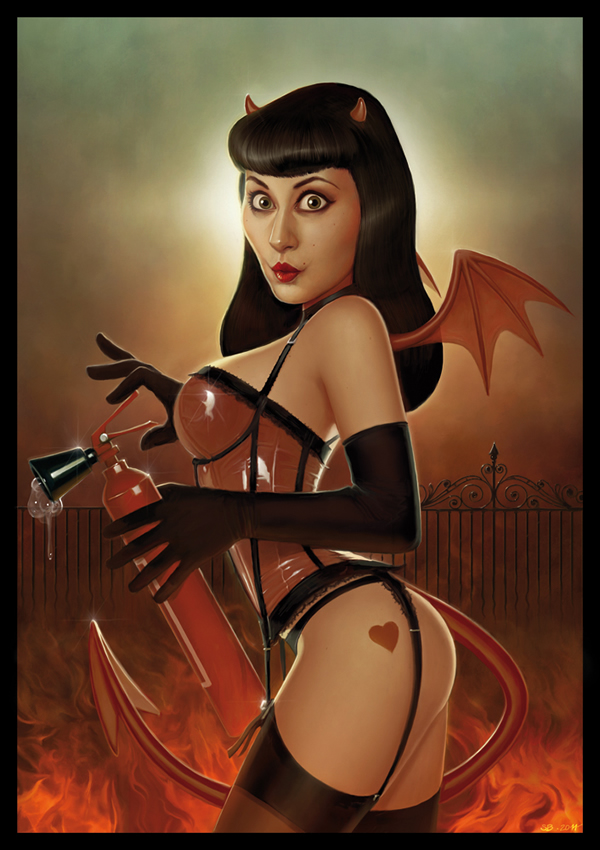
Malyficarum
This piece was done for a pin up exhibition in Paris and Montreal.
Old Style
This piece was inspired by the work of Rembrandt.
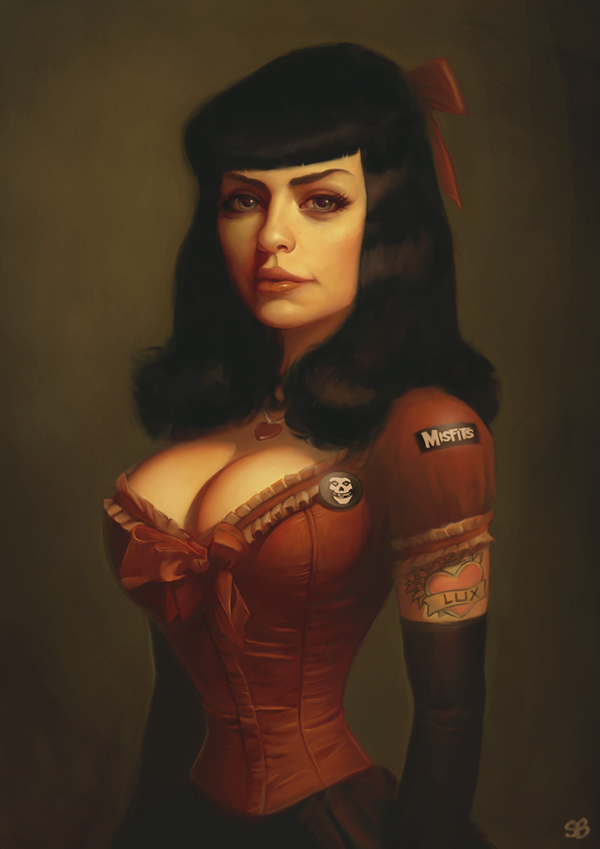
Pamela Bouguereau
This piece was inspired by the work of Eric Tranchefeux on Rembrandt.
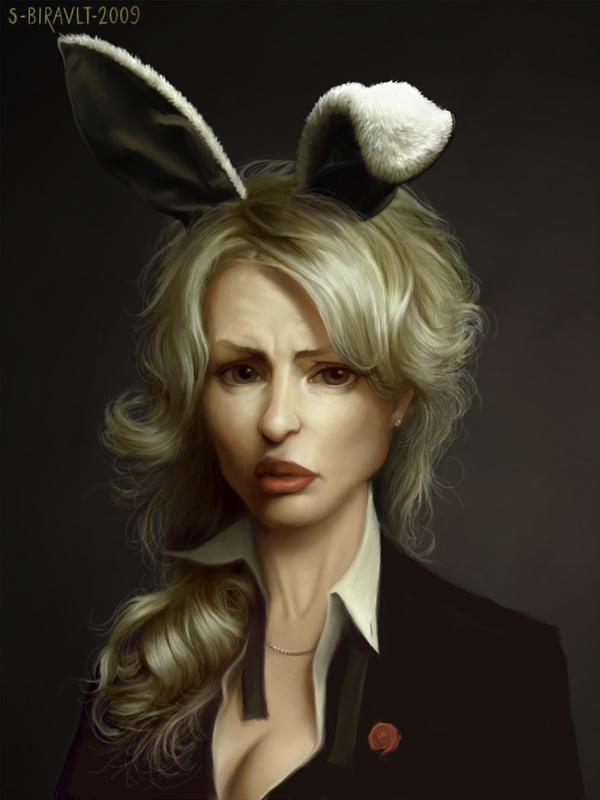
Perla
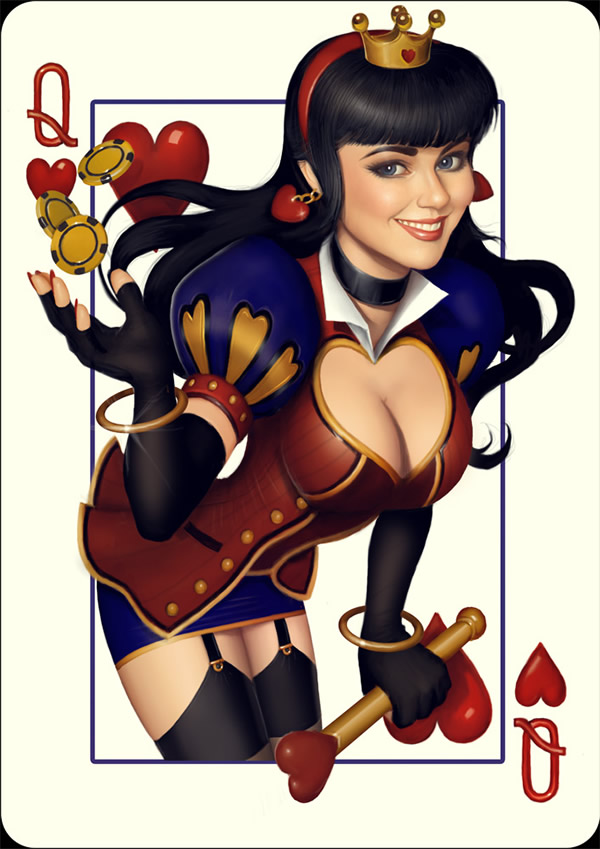
Poker Pin Up 2
This piece was done for a poker website.
Rosie Lugosi
This caricature portrait was commissioned by Rosie Lugosi.

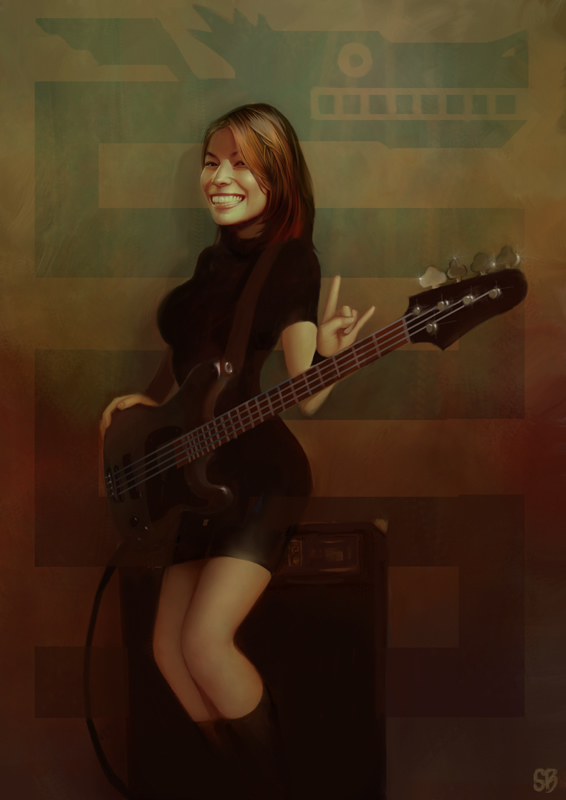
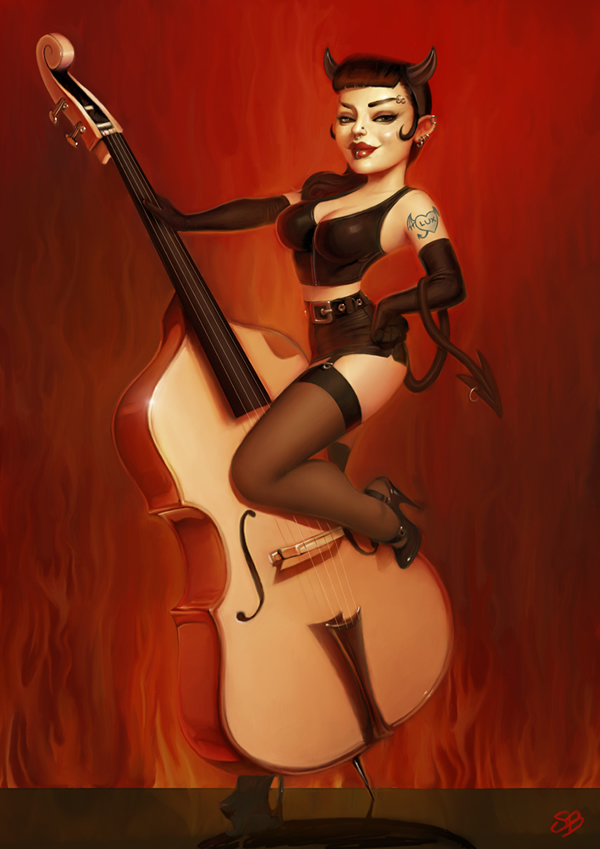
Psychobilly Girl From Hell
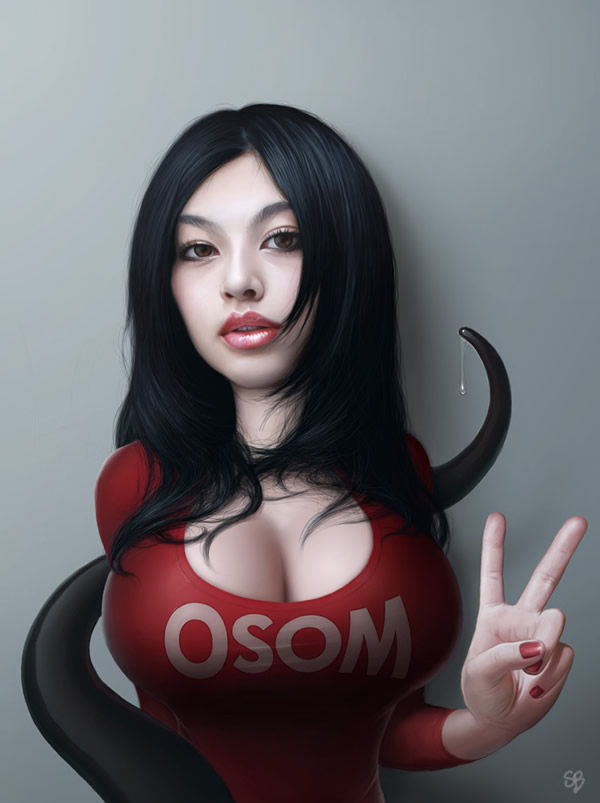
Saori and Tentacle
This piece was a gift to Andrew Hickinbottom. You can see how the piece came together here.
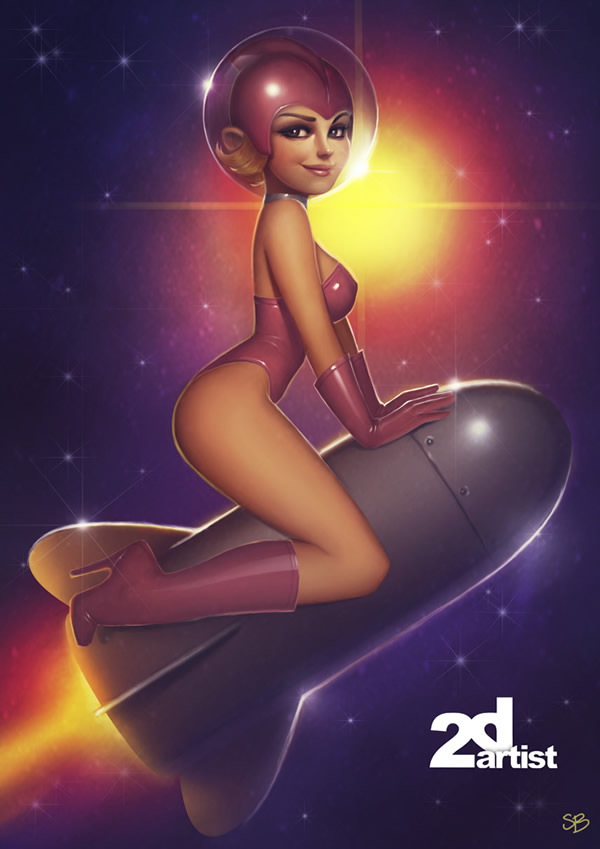
Space Bambi
Here is another rendering of Bambi riding a space rocket.
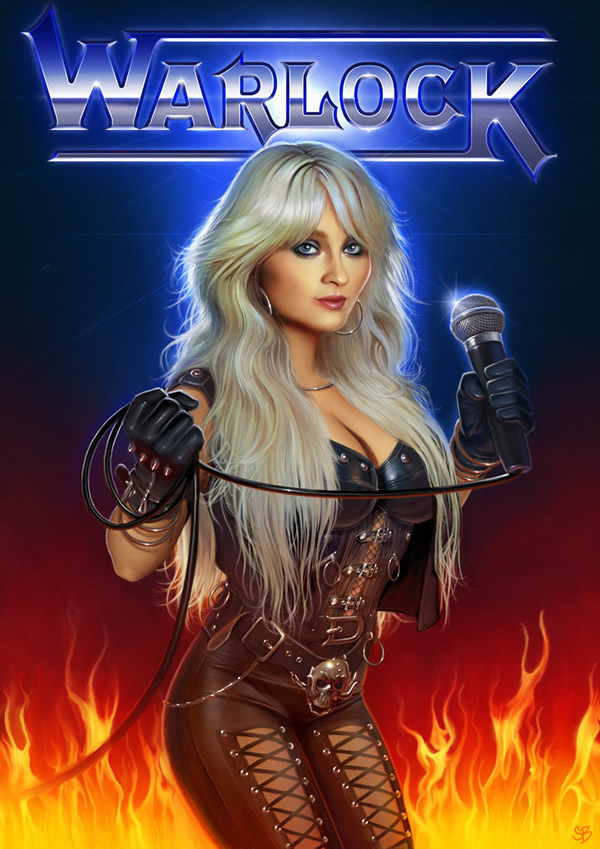
Warlock Kitsch Fan Art
This piece is fan art of the 80′s german metal band Warlock and their singer, Doro Pesch.
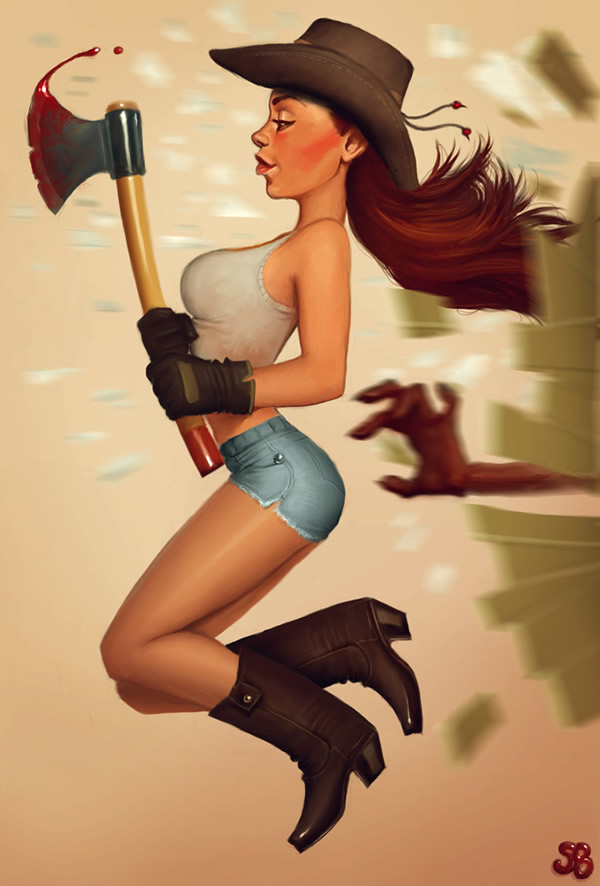
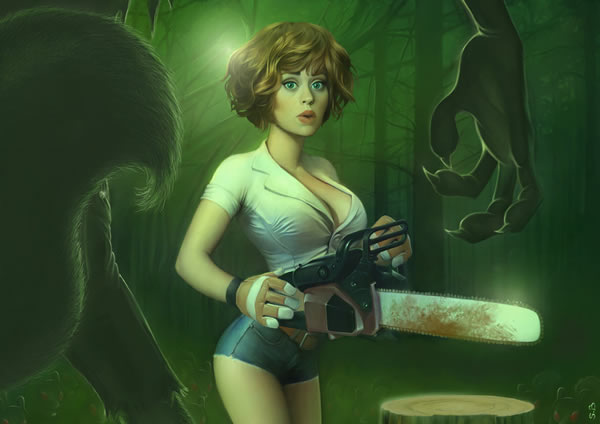
The Girl, the Chainsaw…
A girl and a chainsaw.
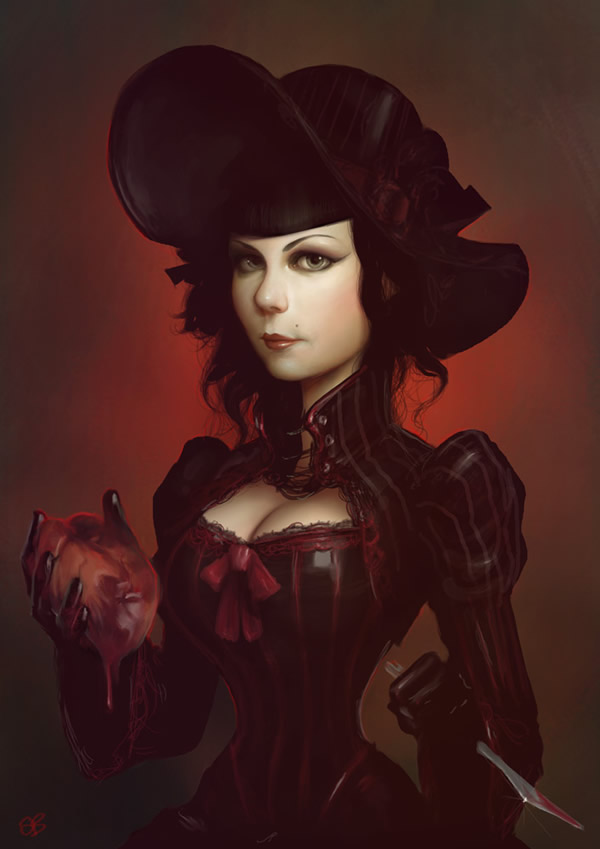
Whitechapel
This piece was inspired by the work of Thomas Lawrence’s paintings in the National Portrait gallery.
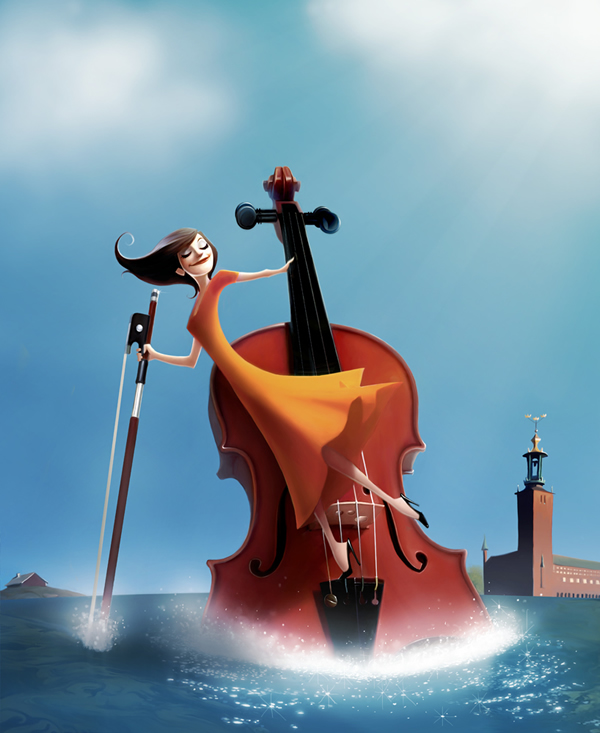
Opus Magazine Cover
This was done for a cover of the Swedish Magazine, Opus.
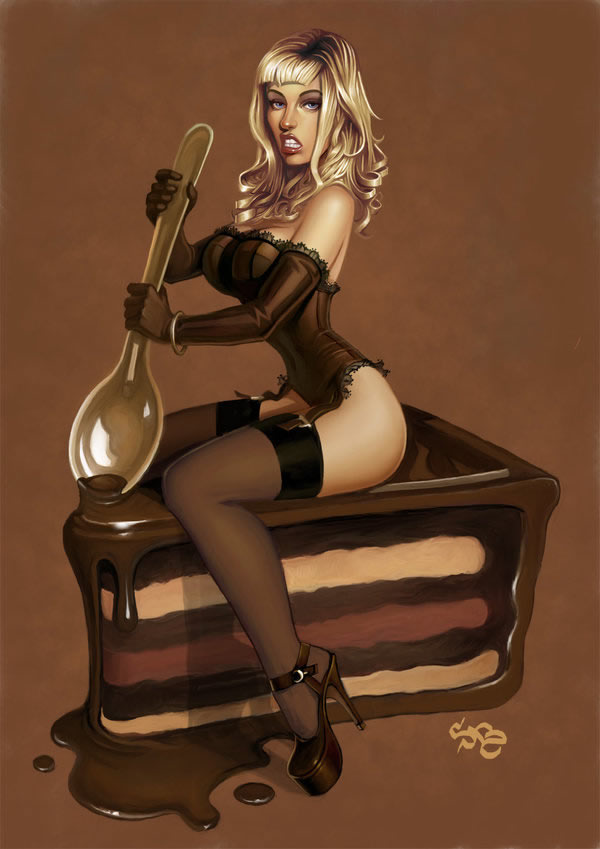
Chocolate
Create a Post Apocalyptic Panoramic Matte Painting – Psd Premium Tutorial
2011-08-11 17:00:33 (читать в оригинале)This tutorial is part of a two-part tutorial demonstrating how to create a post-apocalyptic photo manipulation. In Part 1, we showed you how to shoot and assemble the base panorama. In this Psd Premium tutorial, author Tony Aube will demonstrate how to turn the image we created in Part 1 into a snowy post-apocalyptic matte painting. This tutorial is available exclusively to Premium Members. If you are looking to take your design skills to the next level then Log in or Join Now to get started!
Professional and Detailed Instructions Inside
Premium members can Log in and Download! Otherwise, Join Now! Below are some sample images from this tutorial.
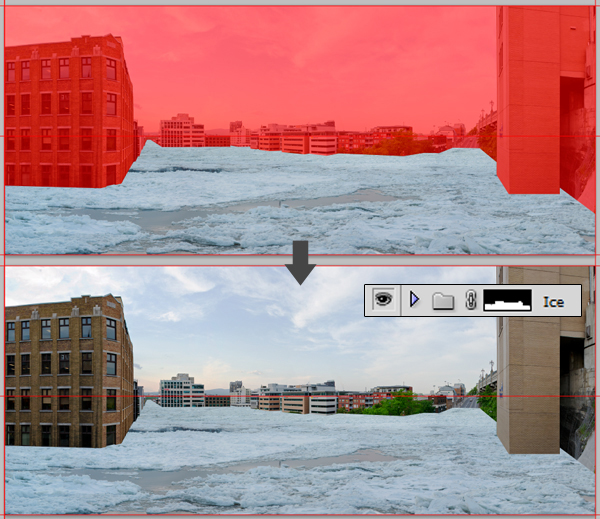
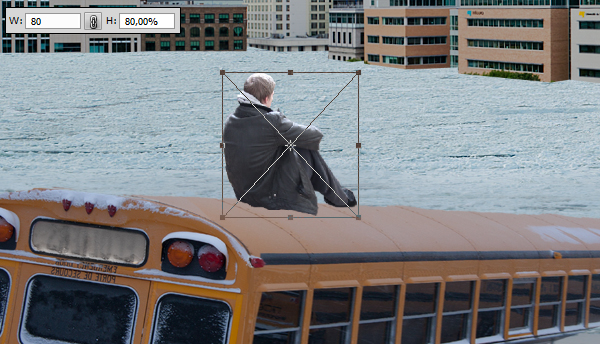
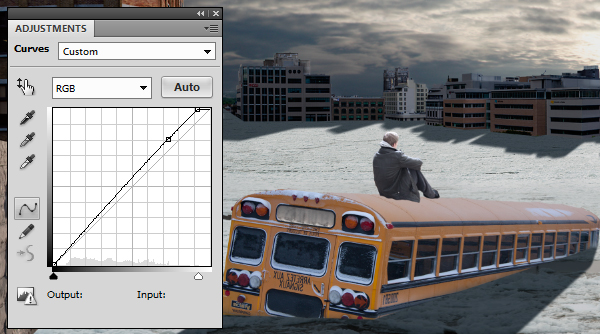
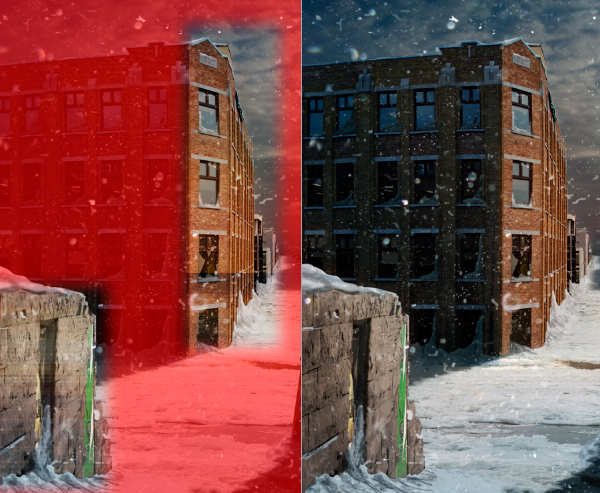
Final Image
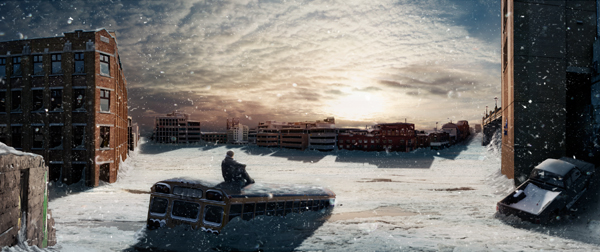
Psd Premium Membership
You can join Psd Premium for as little as $9/month. Premium membership gives you access to the source files for all our tutorials as well as access to premium tutorials like this one. This also includes the rest of the sites in our network including Vectortuts+, Webdesigntuts+, Phototuts+, Nettuts, and more! Premium Members can Log In and download this tutorial. Otherwise you can Join Today!
How to Set Up Your Photoshop Documents: Composition
2011-08-10 17:00:00 (читать в оригинале)Photoshop is an excellent tool for manipulating photographs but it can also be used as a means to create stunning digital art. This tutorial is part of a 25-part video tutorial series demonstrating everything you will need to know to start producing digital art in Photoshop. Digital Art for Beginners, by Adobe Certified Expert and Instructor, Martin Perhiniak will begin by teaching you how to draw in Photoshop. At the conclusion of this series you will know all you need to produce your own concept art and matte paintings in Photoshop.
Today’s tutorial Part 4: Composition and How to Set Up Your Photoshop Documents will showcase some excellent examples of well-composed digital art and will explain how you can set up your artwork to make it even more interesting. Let’s get started!
Citations
The following designs were showcased in this video.
- Atlantis
- The Seven Deadly Sins
- Pepper Robot II
- The Pumpkin King
- Three Kingdoms
- La Rochelle
- Into the Unknown
- Rain
- Tifa Lockhart
- Giant
- Frost Giant
- The Shepherd and the Giant
- The River of Tears
- Snowy Mountains
- Snowy Mountains
- Red Angell of Revenge
- Neurotic Indisposition
- Antecedent Terminus
- Lost Angel
- Mariposas
- Floating Palace
- Fallen Beauty
- Midnight Run
- Spring Palette
The Artwork of Emeric Trahand (Takeshi)
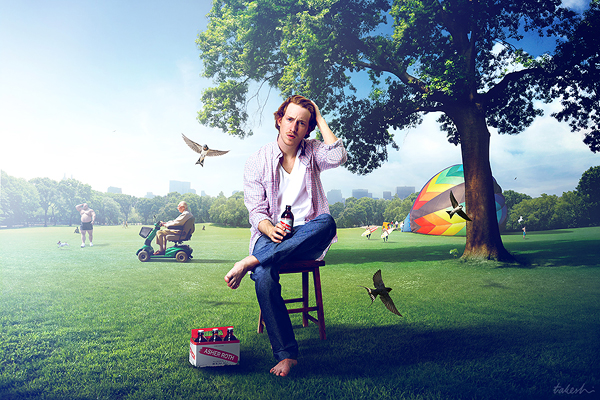
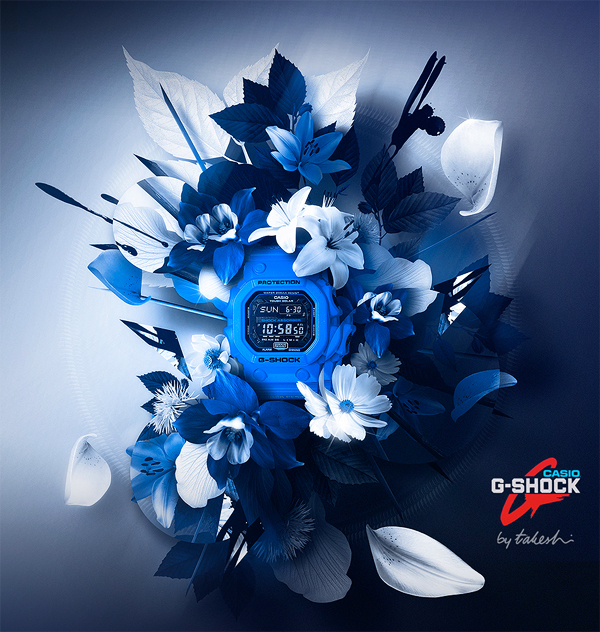
2011-08-09 17:00:56 (читать в оригинале)Today, we will be featuring the work of Emeric Trahand also known as Takeshi. Trahand is a New York based art director and artist from Saint Etienne, France. Emeric’s illustrative work is renowned for its surreal feel, the quality of its photomontages as well as light treatments and colourful compositions. Let’s take a look!
Afternoon at the Park
This piece was a pitch for an album cover for U.S. rapper Asher Roth.
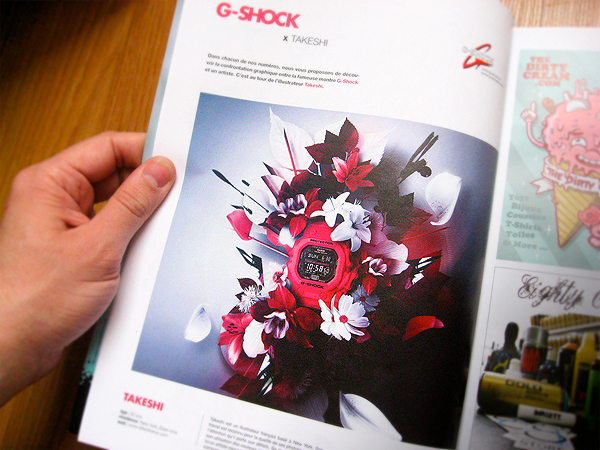
G-Shock
This was a collaboration between with G-Shock for Graffiti Art Magazine.
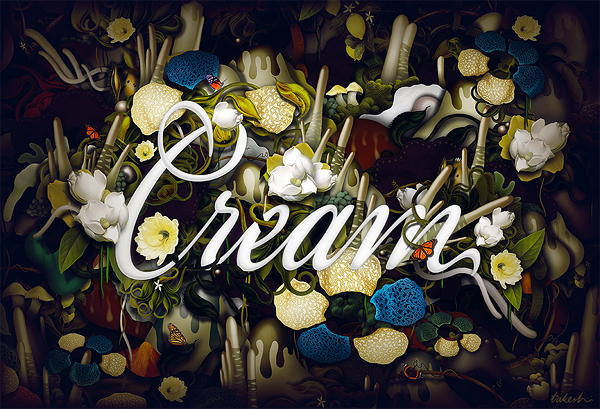
Cream
This was a personal piece for Typcut Collective.
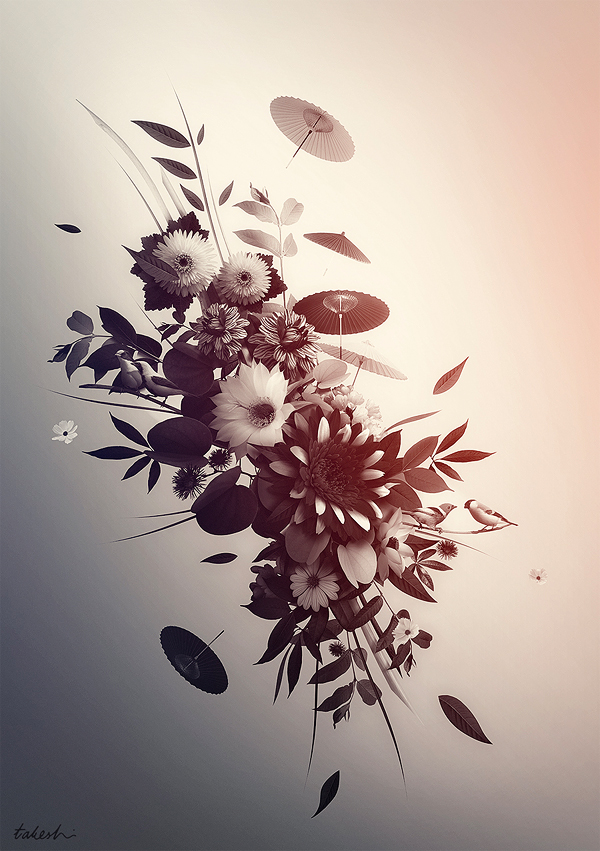
Decembre
Decembre was an experimental piece featuring umbrellas and flowers.
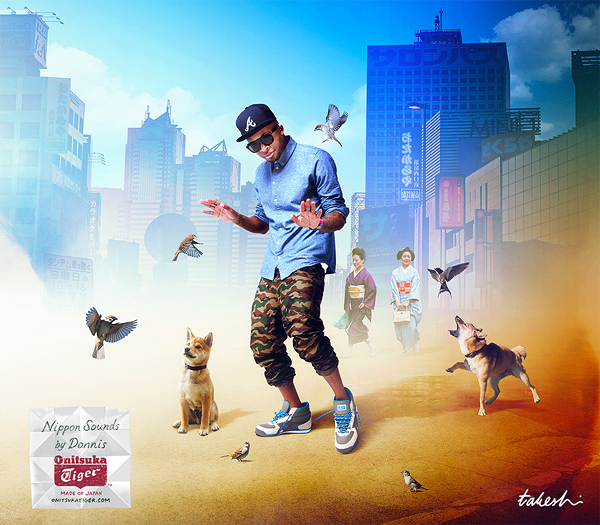
Mixtape Artwork
Cover for U.S. rapper Donnis in collaboration with Onitsuka Tiger.
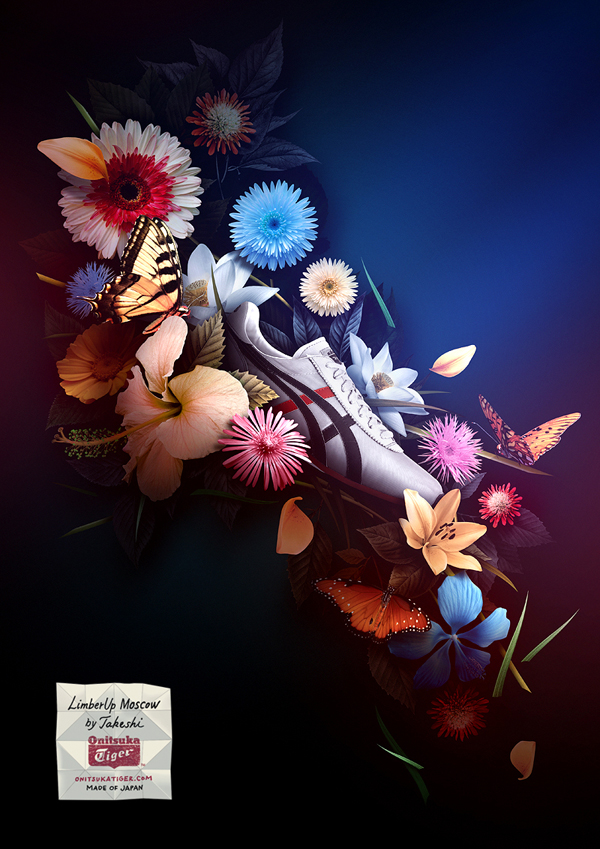
Onitsuka Tiger
Print campaign for the release of the Limber Up Moscow Sneaker.
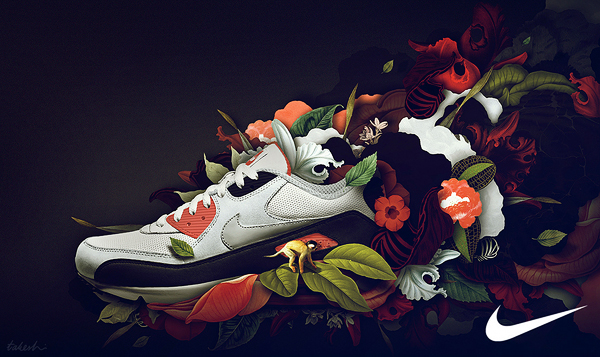
Nike
Pitch work for a Nike print campaign.
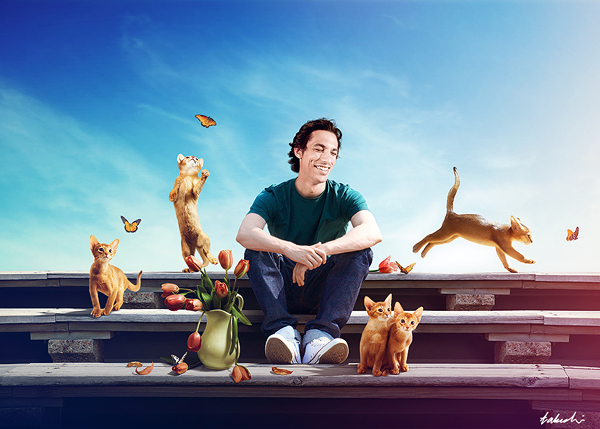
The Cats
This was a personal piece and an experiment with photomontage.
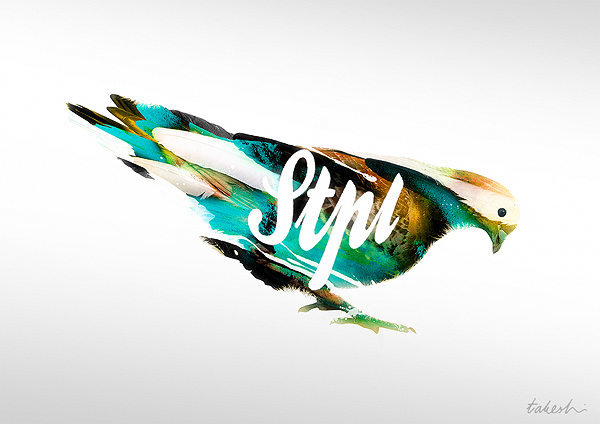
Staple
Interpretation of the "staple pigeon." Fashion Design for Jeff Staple and Staple Design.
Red Bull Music Academy
A giant backdrop for the 2011 Red Bull Music Academy Festival in Barcelona, Spain.

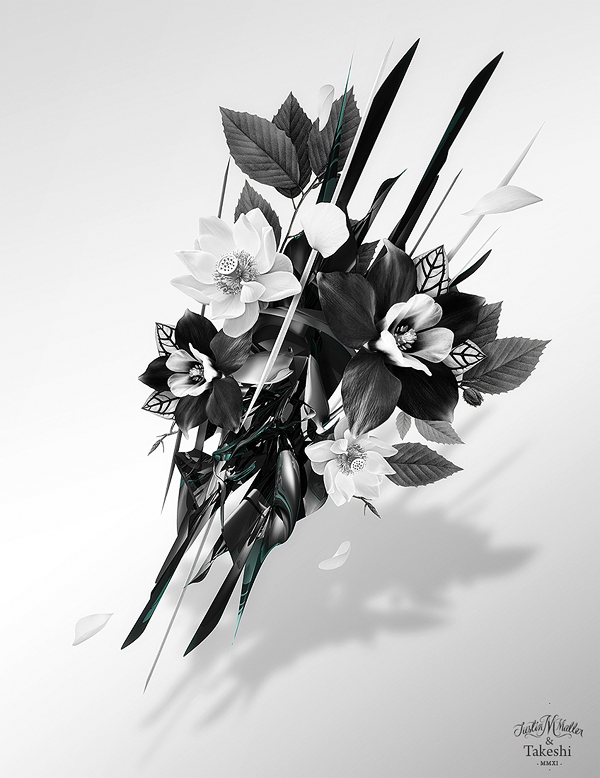
The Bouquet
This was a collaborative piece Justin Maller for Depthcore.
Create a Medieval Landscape in Photoshop
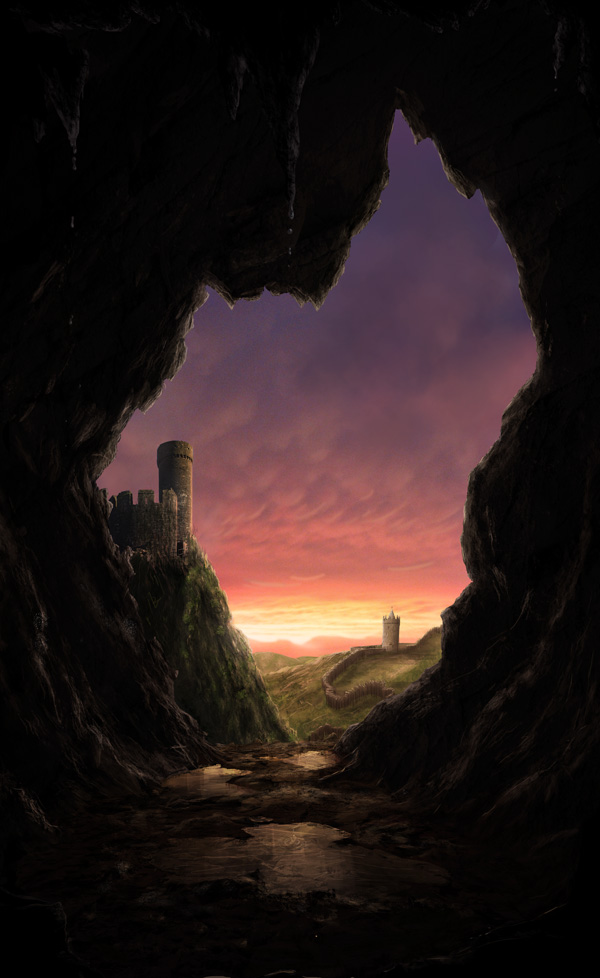
2011-08-08 17:00:29 (читать в оригинале)In this tutorial we will demonstrate how to create a medieval landscape using digital painting and photo manipulation techniques. We will begin by sketching out a rough idea of how we want our image to look. Then, we will then add various stock images and build upon them until we produce the scene below. Let’s get started!
Tutorial Assets
The following assets were used during the production of this tutorial.
- Sky Stock
- Castle Stock
- Rock Texture
- Brushes
Before You Begin
This piece has been done with the help of a graphic tablet, to be precise a Wacom Bamboo Fun. If you’re painting with a mouse, the technique is always the same. Only thing that changes is the time you’ll spend on it. In order to get a good effect, remember to vary often opacity and flow jitter.
Step 1 – Sketch on paper
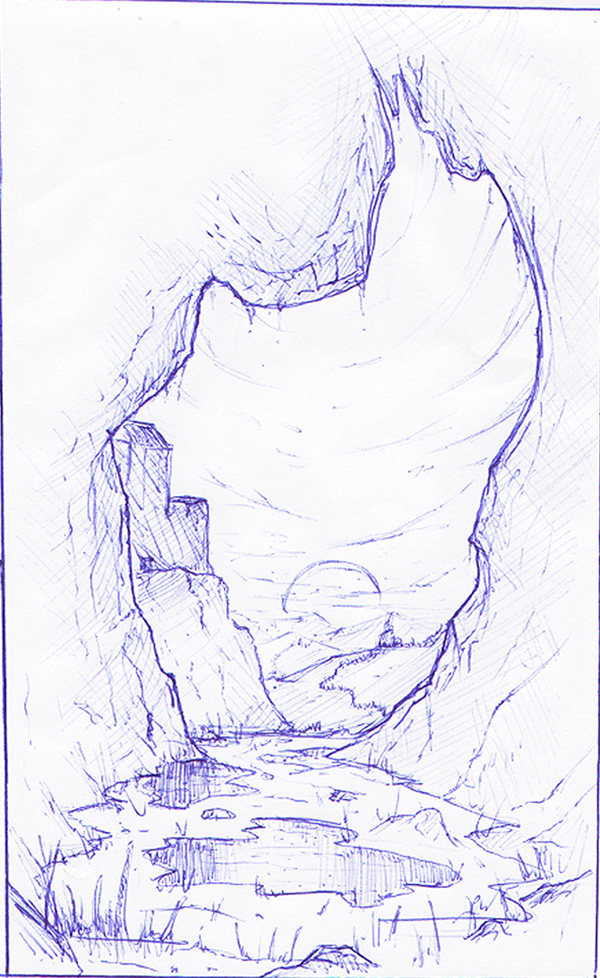
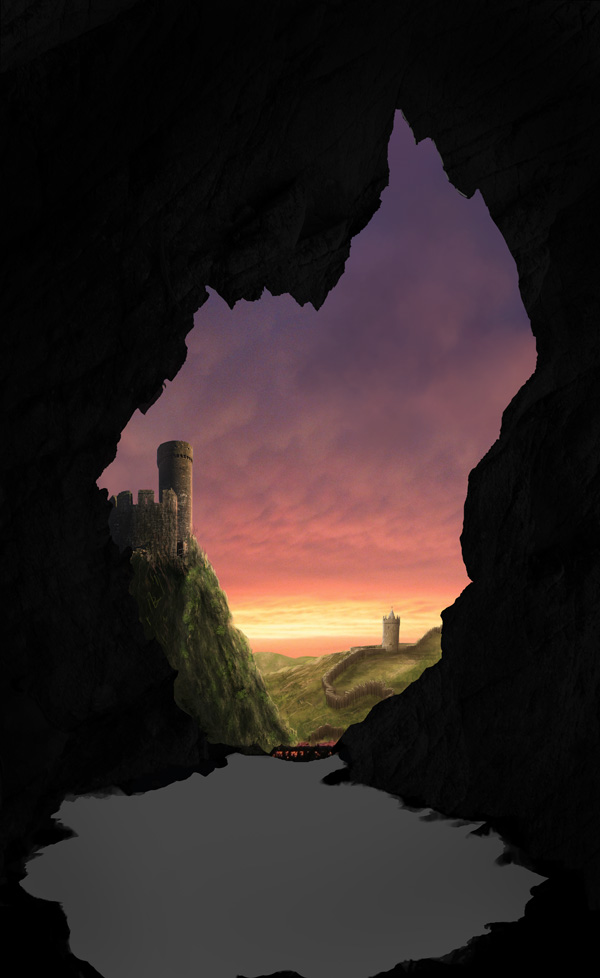
Like many of my pieces, this has been drawn away from my computer with a blue pen and a piece of paper. When I made this, before starting drawing, I already had a precise idea of what I wanted. The cave here works like a frame and everything in it it’s the actual piece. I wanted to focus the viewer into only a few elements and I wanted it to have a strong impact, which is why I choose as central element the sun.
Step 2 – In Photoshop
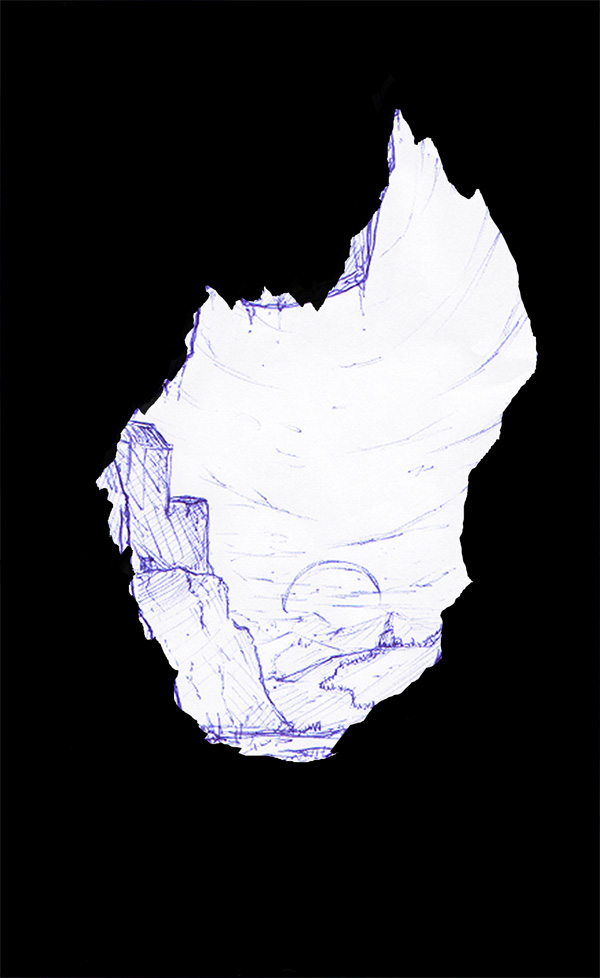
First thing I did after scanning the piece and importing it into Photoshop was to create that frame. To do it, you can use different Photoshop tools. You can use the Brush Tool (B), the Lasso Tool (L), the Pen Tool (P), and probably a couple more. It doesn’t matter which one you’re going to use, just try to create an interesting shape and try to make it precise, without having soft edges (in this case, Pen Tool is the most accurate, but it’s also an hard tool to manage, if you’re not confident with it, my advice is to spend time trying to understand how it works, it is really an amazing tool once you get how it works. Hundreds of tutorial has been written about how to master it. Learn the shortcuts, they’ll save you a lot of time. It might be a pain at first, but when you’ll know how to use it at his best, you’ll be grateful to have learned something so useful).
Step 3 – Choosing a color palette
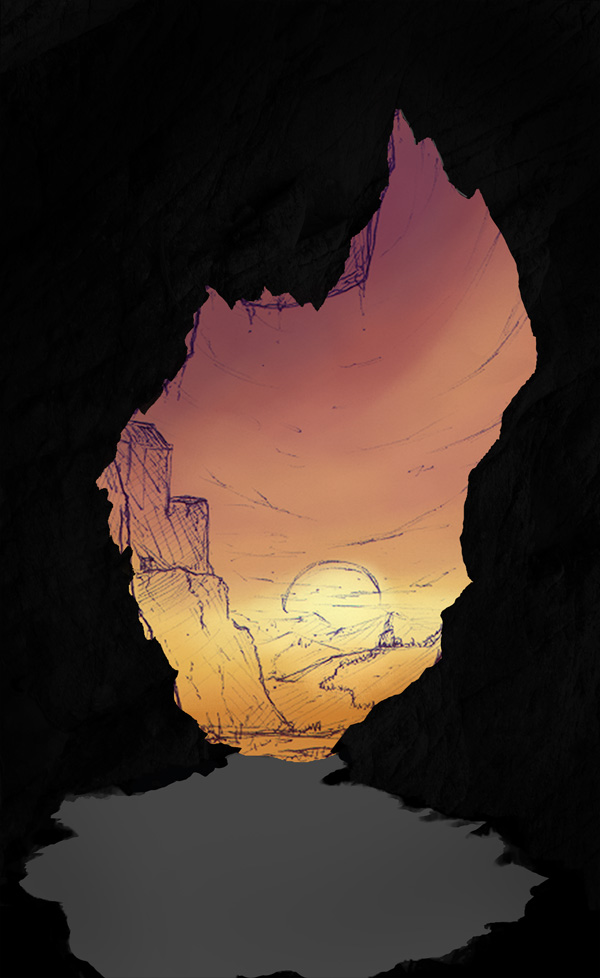
A thing that I think is very important is choosing a color palette before you start looking for stocks. This way you can get already an idea of what is that you’re going to look for. It’s a way to know which kind of photo do you need (in this case, which kind of sky) and you can directly look for that. In this case I limited myself into painting with a soft brush a very simple sunset. In this step I also created, on a different layer, the ground of the cave using the Lasso Tool, which is the best tool when painting to create the sharp shapes of the rocks.
Step 4 – Hills
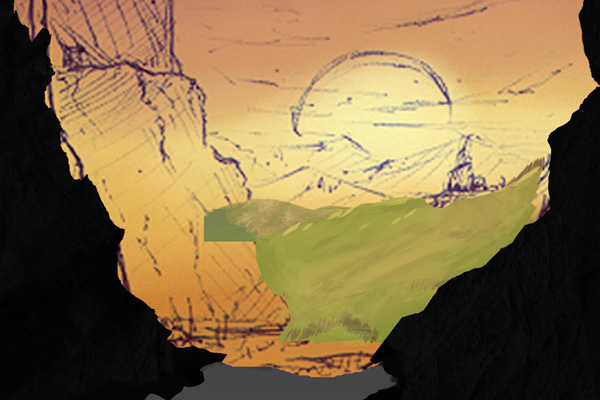
Ok, Hills! Very simple to make: I divided them into layers. First layer is for the furthest ones, made them just using the hard round brush and a desaturated green.
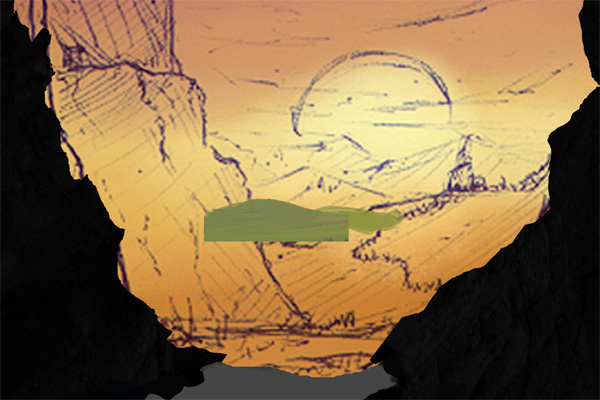
On the second layer, which is going to be on top of the first layer, we will paint a closer hill using again the same brush, this time with a more orangish green.
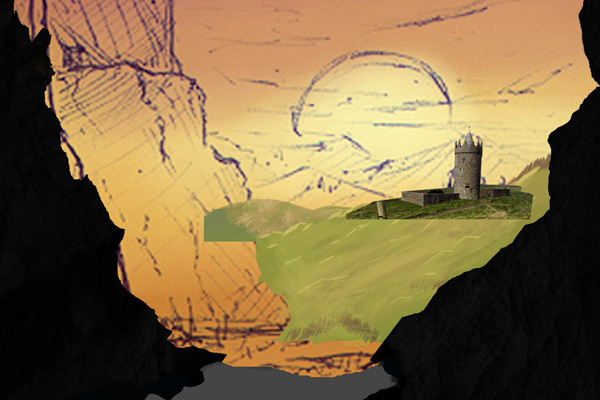
Here I’ve added the first castle. It’s a simple photo rendered using the Pen Tool.
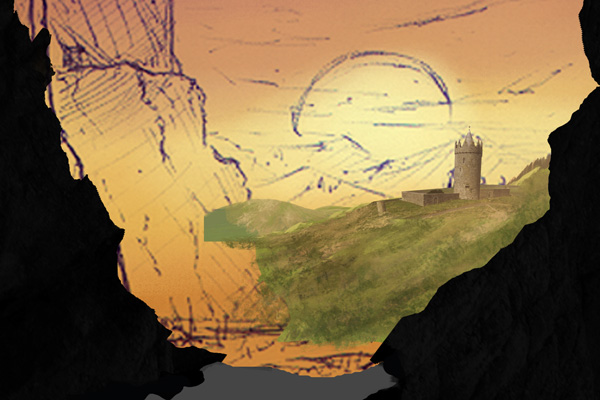
In order to blend the castle, I created a new layer and a clipping mask with a brown/orange layer set on lighten. This way the darkest colors of the castle will become like the colors in the clipped layer. In this step I also texturized the hills using brush number 5 of the brush set. Grass has many colors and based on the lights and shadows these colors become even more, so for giving it a nice effect try to use more than a couple of them. As you can see, other than the green, I used different tones of brown, orange and yellow.
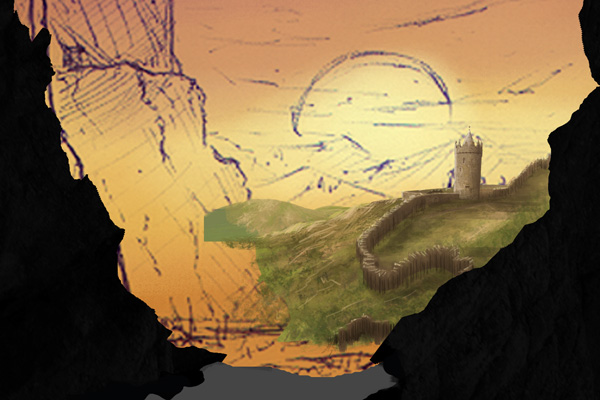
Just like in the initial sketch, I made these weird castle walls. I did them using the hard round brush (number 1) and the palette knife brush (number 2). This one took me a while before figuring out how to do it, but once you get it it’s pretty easy to make. To make those straight lines, just press the ALT key while making your brush stroke.

Step 5 – Castle
Now we get into a slightly harder step. First I painted the big cliff using brushes number 1, 3 and 5. Use 1 and 2 to create the shapes and number 5 to texturize it. At this point I wasn’t satisfied of it at all, so in the next steps you’ll see that I almost completely modified it (but using the same technique I explained in this step).
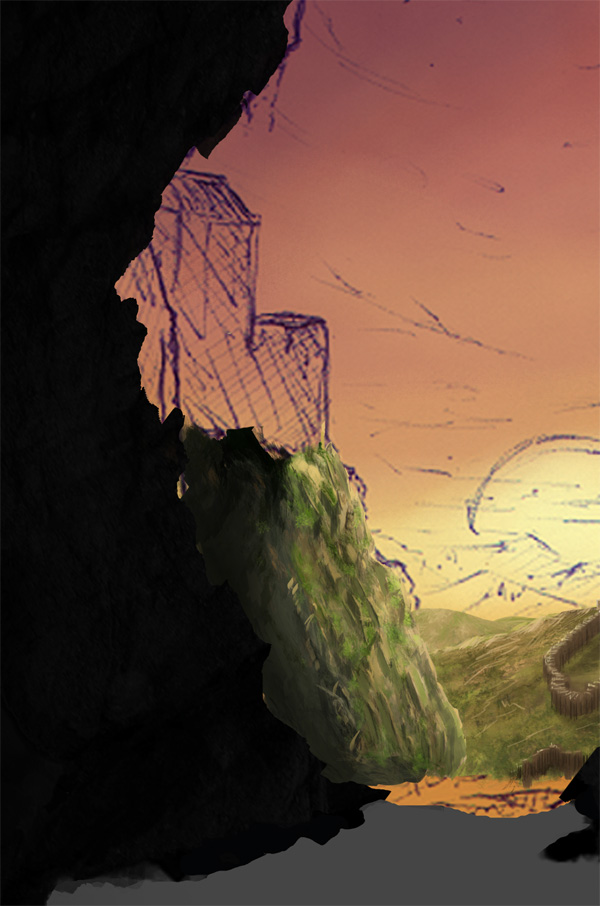
For the Castle I used a great photo downloaded from deviantART and made by =prolific-stock, you can find it in the tutorial assets.
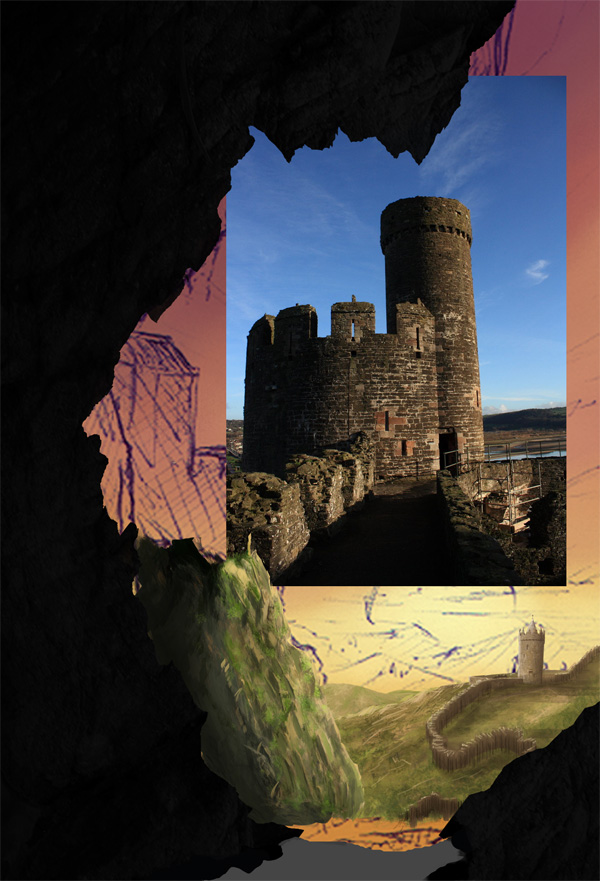
Using the Pen Tool (P) (but here as well you can use different tools, such as the Eraser Tool (E) and the Polygonal Lasso Tool (L)) I rendered the image, erasing the sky and the foreground of the photo.
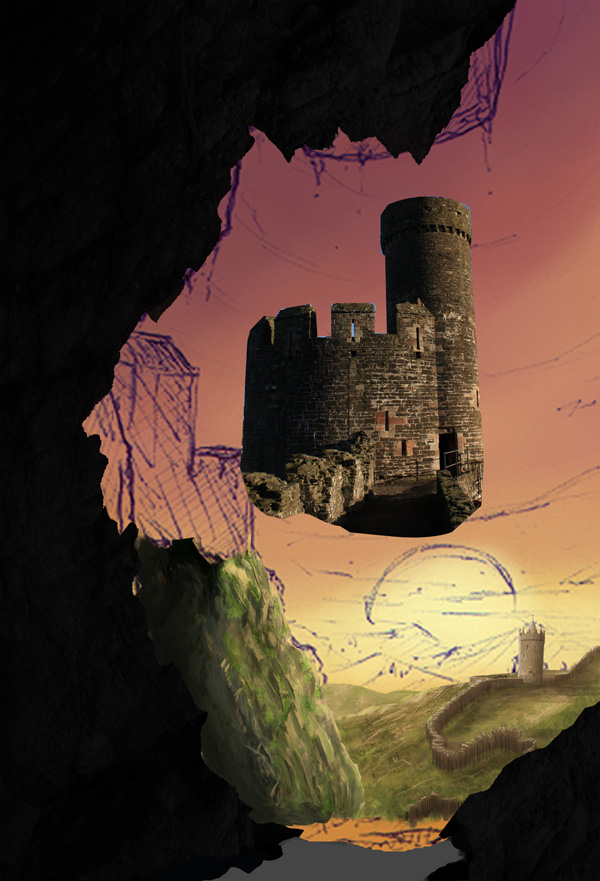
Using the Perspective Controls (Edit > Transform > Perspective) I gave to the stock a more suitable perspective that can match the rest of the elements in the piece.
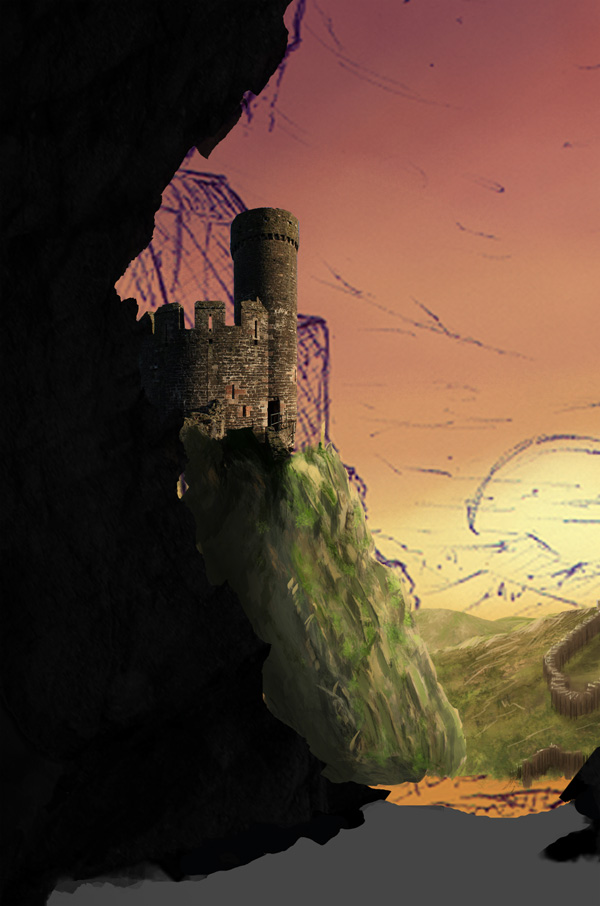
Here I painted another part of the cliff in order to blend more in the castle.
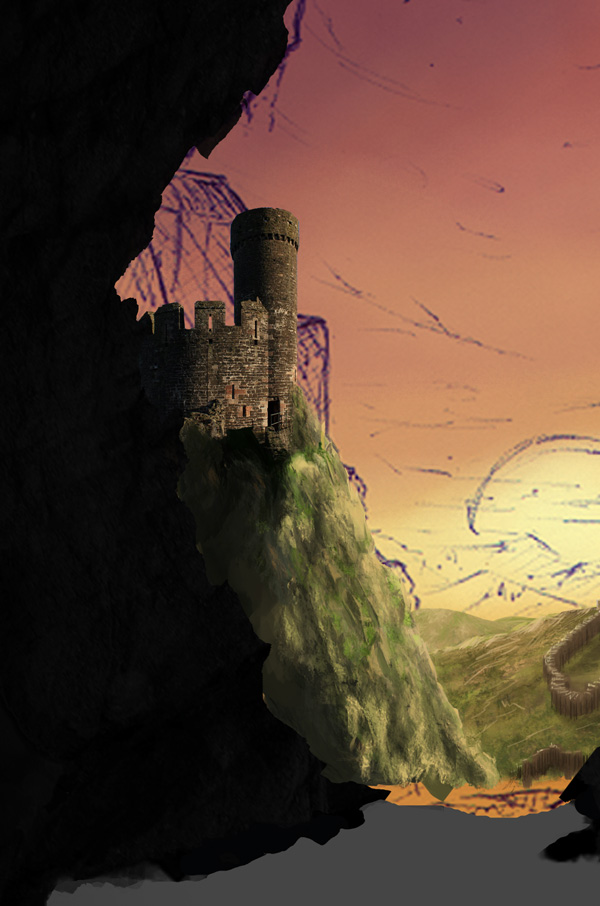
As said before, I wasn’t satisfied about this cliff, so I darkened it and using brush number 1, 3, 4 and 5 I added more details.
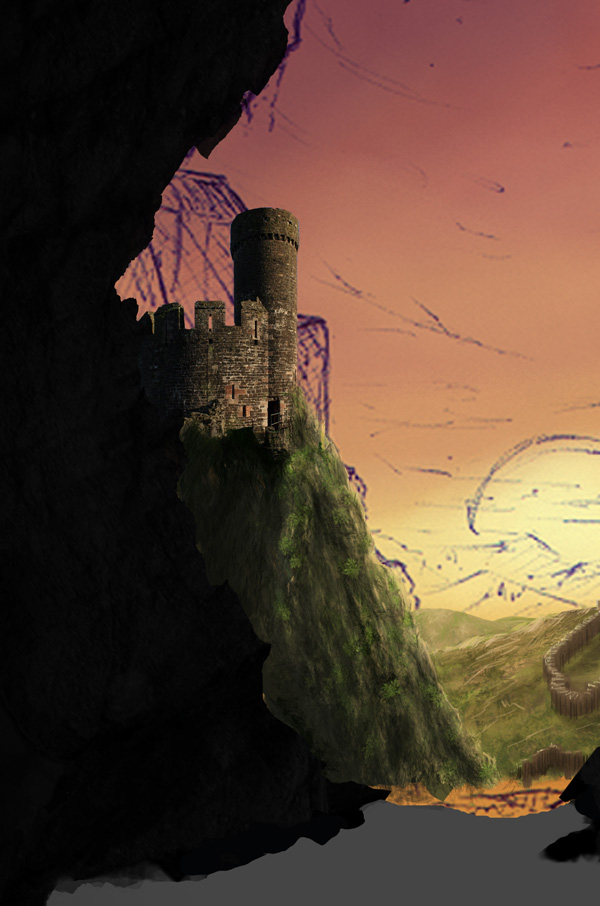
In this step I just added some orange on the border of the castle using a clipping mask and I painted on the left some dark lines with brush number 3 for blending more the castle.
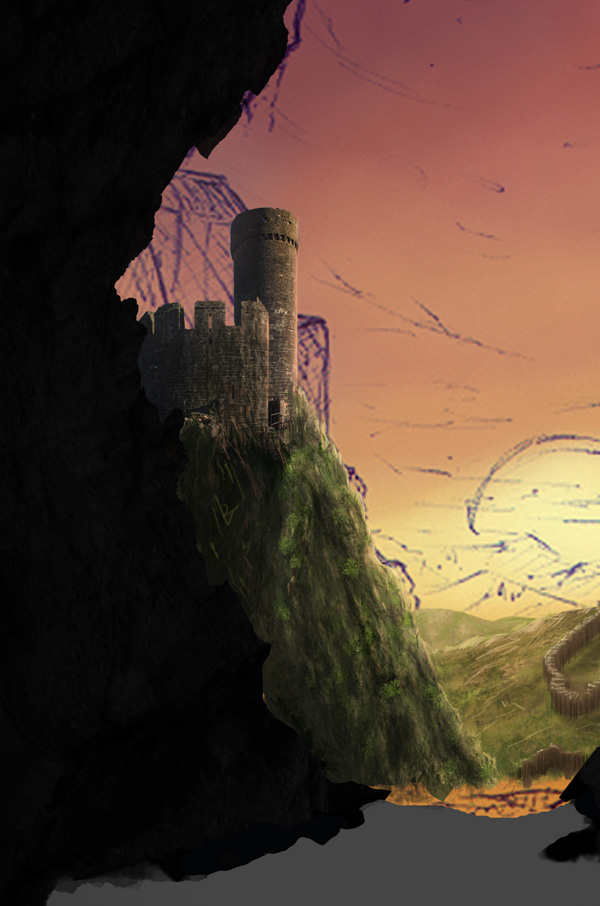
Step 6 – Sky
Searching on sxc.hu I found this very nice picture of a sunset. As you can see there is some tree foliage and the photo does not completely fill the piece. A quick and easy solution is to use the brush tool and a soft round brush (it’s a great brush for this kind of skies) and using the Eye Dropper Tool (I) to select the same colors of the sky. You can download a cloud brush as well and use that one instead, it’s not important. As always, what matters is the result. Also, if you’re using a more complex sky stock, try use the Clone Tool (S), with some practice you can get great results.
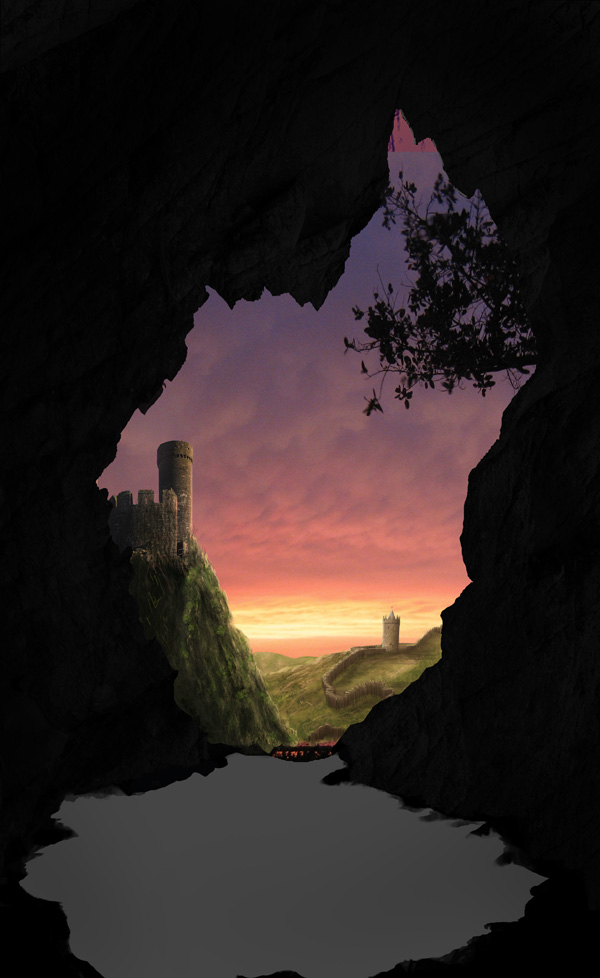
Step 7 – Cave
This is the step that is going to take you most of the time because you need to understand how to create volume in the cave, but once you do understand it, and you understand the technique used, you’ll do it in a few minutes.
Before painting on it, I downloaded a rock texture from CGTextures, I imported it into Photoshop, darkened it and clipped into the cave layer. Try to be as ordered as possible with layers, create groups and rename your layers, this way you can easily move through your PSD, create clipping masks and avoid any sort of annoying problems.
Using brushes number 3, 4 and 6 (mostly 6) and a light gray I painted on the borders of the cave the highlights of the rocks.

Take your time while painting. Trying to get a good effect may take you a while. Spend time trying to alternate those brushes, also use the eraser tool with number 6, this way you can get better texturing.

Step 8 – Cave’s Ground
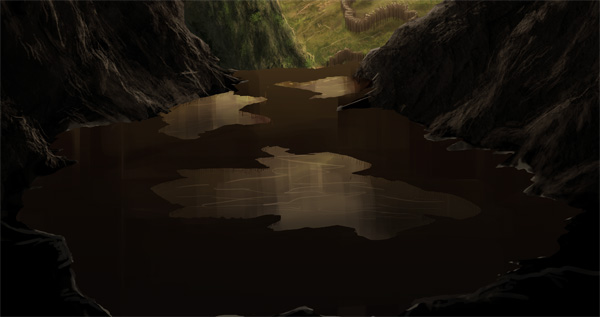
Let’s go back at step number 3, when we created that layer for the ground. I created a clipping mask and I filled the layer with some ground. Using the Lasso Tool (L) I created the shapes of the puddles and I filled them using a lighter brown. Using a big hard round brush I painted the reflections of the ground into the water.
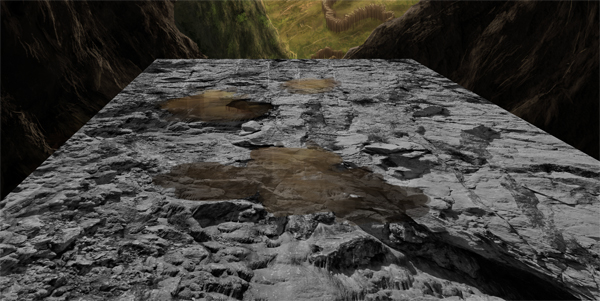
From CGTextures I downloaded another rock texture and using the perspective controls I manipulated the image in order to get the same perspective of our painted ground. I clipped this layer into the ground layer and set it to Overlay.
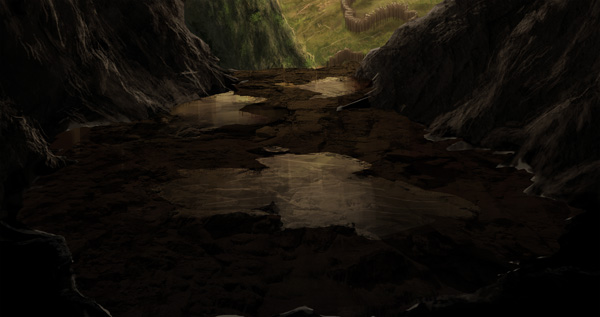
Using brush number 5 I painted some highlights and shadows on the ground in order to make it look more realistic.
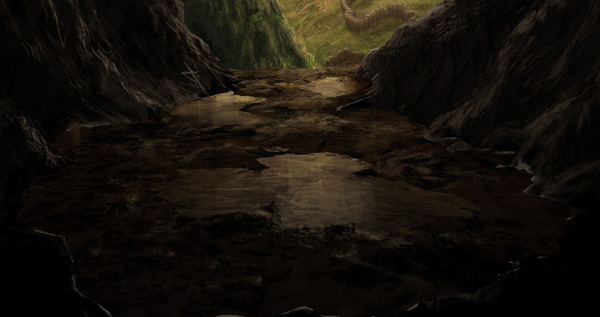
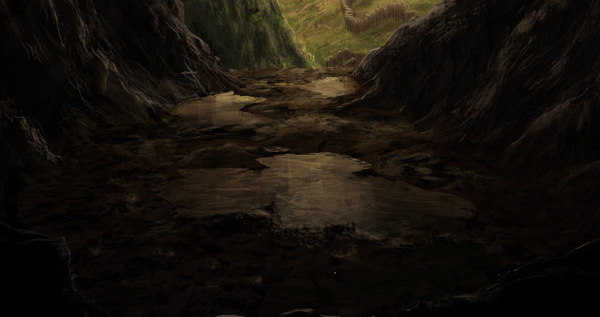
Step 8 – Stalactites
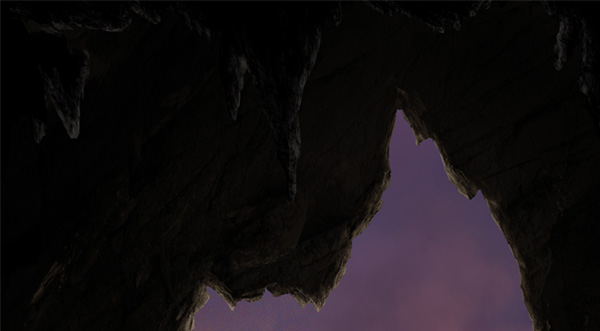
Our piece is completed, but as I always do, I like to add small particulars to the piece that can make it more interesting. This time I choose to paint some stalactites. I did it using the exact same technique of the cave, so New Layer > paint stalactites shapes > New Layer > Clipping Mask > dark gray and rock brushes (3-4-5-6).
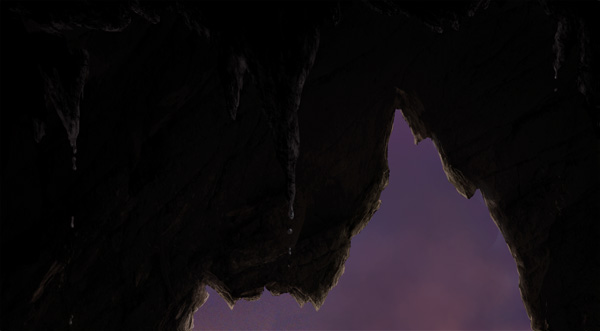
To add some more tiny particulars, I painted a couple of water drops falling from the stalactites using the hard round brush (number 1).
Final Image
|
| ||
|
+1241 |
1261 |
Robin_Bad |
|
+1175 |
1263 |
Futurolog |
|
+1090 |
1094 |
MySQL Performance Blog |
|
+1028 |
1098 |
Ksanexx |
|
+1023 |
1097 |
Refinado |
|
| ||
|
-2 |
511 |
партнерки |
|
-3 |
605 |
Блог о раскрутке и монетизации сайта. |
|
-3 |
86 |
Mandalaй.ru |
|
-4 |
589 |
Блог Демона |
|
-4 |
17 |
Выводы простого человека |
Загрузка...
взяты из открытых общедоступных источников и являются собственностью их авторов.
